
Photo: Patryk_Kosmider/Depositphotos
This post may contain affiliate links. If you make a purchase, My Modern Met may earn an affiliate commission. Please read our disclosure for more info.
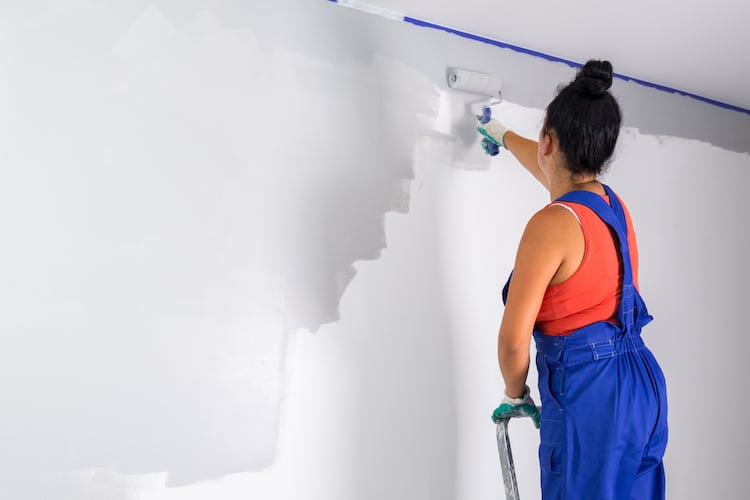
Of all the DIY projects you can do in your home, painting a room is one of the most accessible. Whether you’re in need of a same-color refresh or want to completely overhaul your aesthetic, interior house painting is fully within your reach. It’s a budget-friendly way to make your home feel brand new.
Painting a room is easier than you think—as long as you have the right tools. Luckily, you can find them online or at most hardware stores. Once you have all the supplies, you can get started painting. This is a process-oriented activity that has a number of steps you’ll want to follow in order. So, if you enjoy this type of work—if you like the satisfaction of cleaning, for instance—then chances are you’ll be a fan of interior painting.
Scroll down for supplies you’ll need, the steps to take, and tips and tricks that will make room painting an enjoyable experience.
Essential Supplies Needed for Painting a Room
In order to paint efficiently and neatly, you’ll want to make sure you have these supplies on hand—in addition to your paint, of course.
Paintbrush (or brushes)
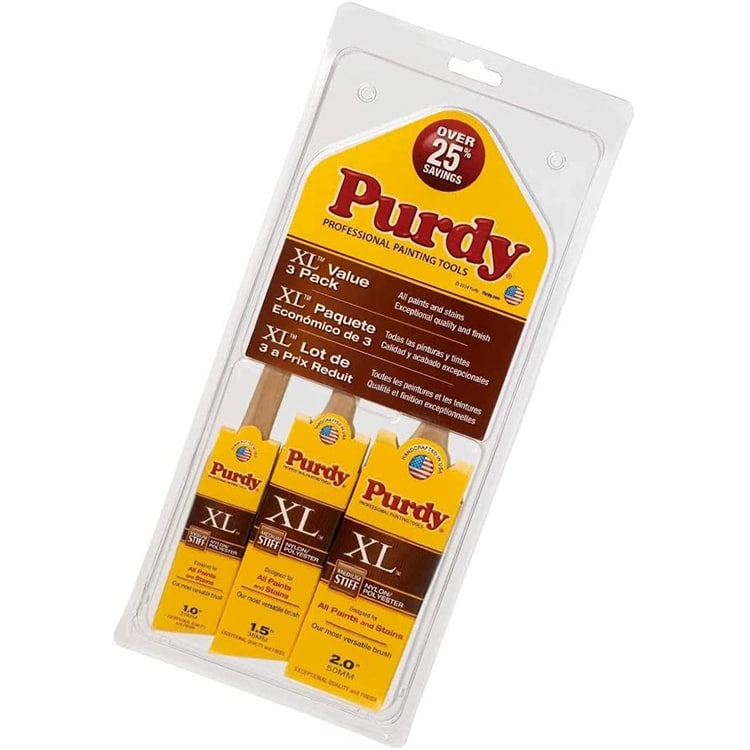
Purdy | $32.09
Brushes, along with a roller, are some of the most important tools you’ll have during this process. They can be used for cutting in—hand painting along the edge of baseboards, etc.—as well as in other spaces where a roller can’t reach. A couple of brushes of varying sizes are handy, and an angled-bristle brush will help you cut with ease.
An edging tool is also popular for painting along baseboards and outlets, but a brush is more versatile for other home projects. A good quality brush will last for decades as long as you take care of it.
Paint roller brush cover and frame
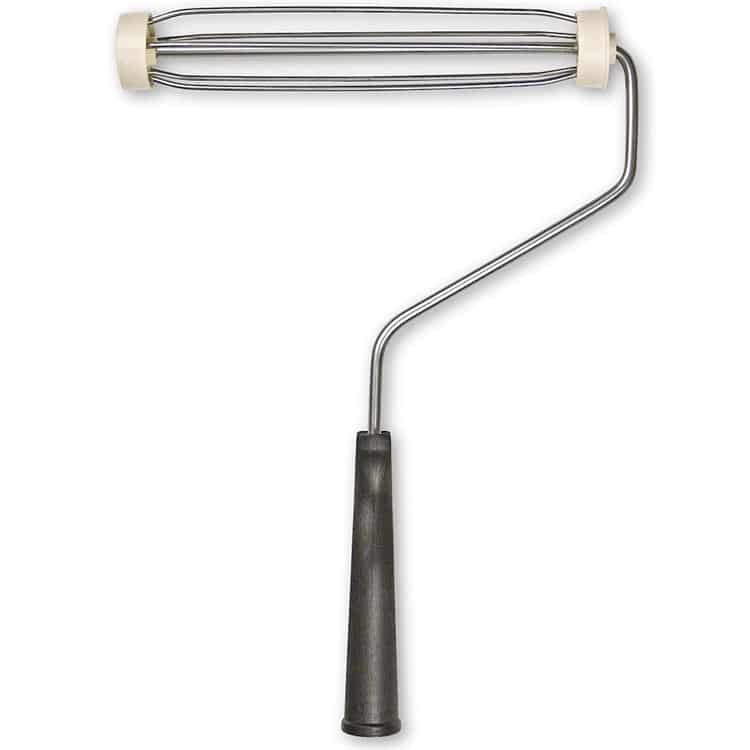
Wooster | $2.46
The roller brush cover (and its frame) are how you’ll apply most of the paint on the wall. The metal frames are standardized so that you can buy roller brush covers and be confident they will fit.
Roller brushes are sold with different naps, which indicates the length of the fibers. A half-inch nap, for instance, works on semi-smooth to semi-rough surfaces. But, be sure to check the packaging to see what kind of surfaces the particular cover is best for.
Extension pole for the roller brush
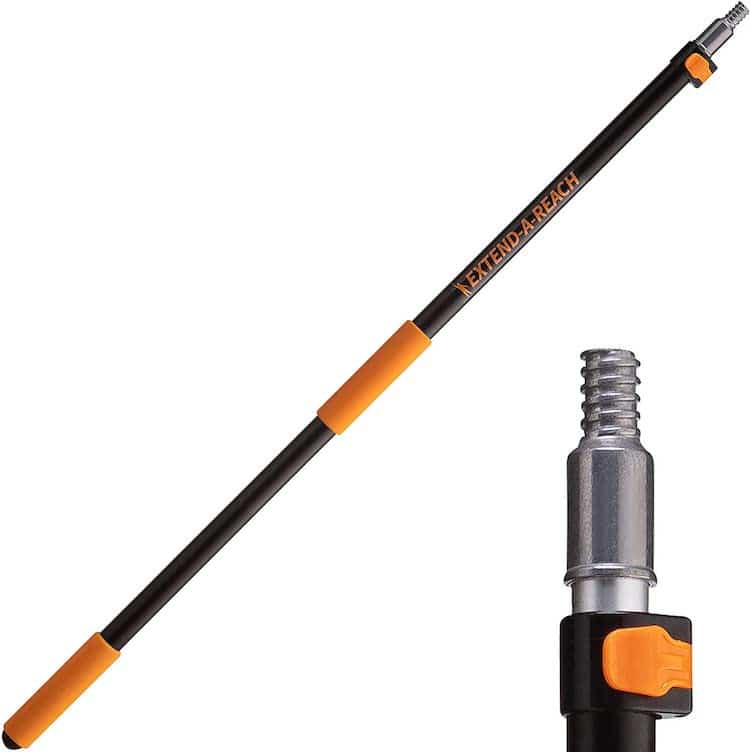
Extend-A-Reach | $29.97
This might seem like an unnecessary tool, but having an extension pole will make painting walls a breeze. The adjustable pole screws into the base of the roller brush, and you can paint the wall—even the high parts—without having to get on a ladder. It also allows you to stand farther away from the wall so that you don’t have to crane your neck.
Paint tray
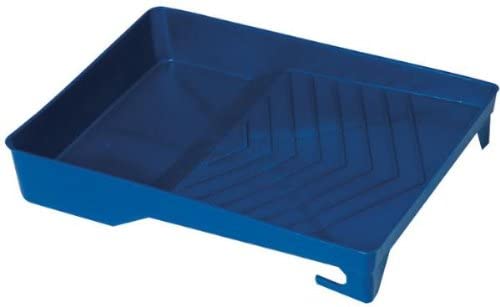
Linzer | $2.02
A paint tray doesn’t have to be fancy. It just needs to be sturdy enough to hold a substantial amount of pigment and stand up to the roller moving back and forth atop it.
Drop cloth
Chicago Canvas and Supply | $21.75
It’s very hard to get paint out of the carpet or off of the flooring. Protect your space with a drop cloth. Plastic covers are cheaper, but a canvas tarp won’t move and shift around as much. Plus, it can easily be reused for future home projects.
Painter’s tape

Duck | $4.77
Painter’s tape is another essential tool for protecting your home. This blue tape will be placed along the baseboards and around outlets. Like the drop cloth, you can go for cheaper tape, but it likely won’t be as thick as the nicer stuff, and you’ll be in danger of the paint slipping underneath the edge of the tape and onto the surfaces you wanted to avoid in the first place.
Ladder or step stool
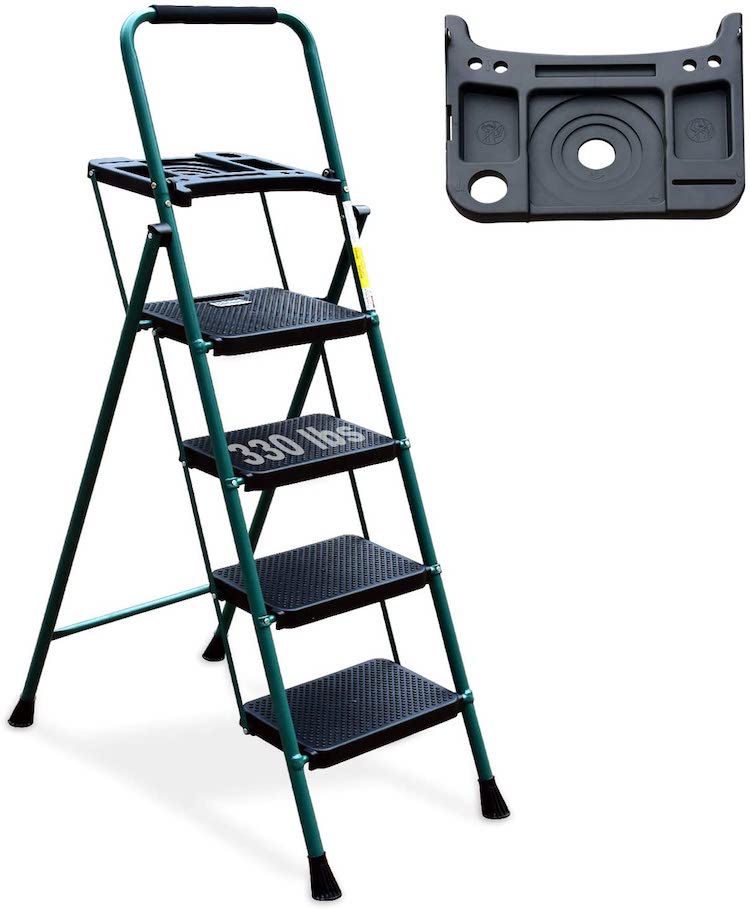
HBTower | $99.99
If you have an extension pole, you shouldn’t need to get on a ladder to paint using the roller brush. But, it’s a different story when taping and cutting in. To make sure you reach the ceiling, have a ladder or step stool handy.
Stir stick and paint key
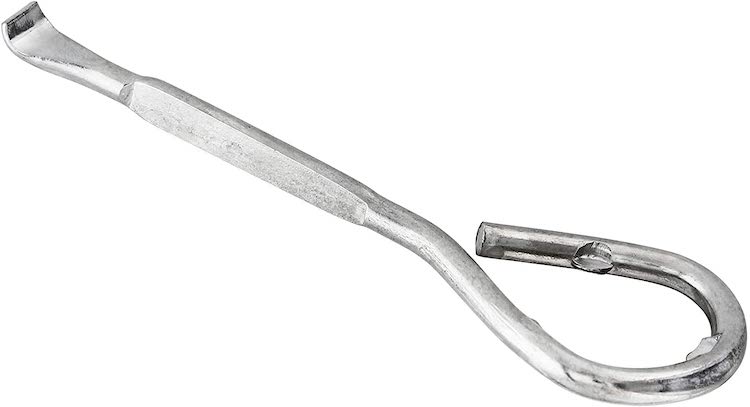
TCP Global | $4.99
Getting the top off a paint can is hard to do with your fingers alone, and a paint key can help. Once the can is open, the paint will need to be mixed with a stir stick. The good news is that these two things are often free when you buy paint. Just ask for them at the paint counter.
Basic Steps for How to Paint a Room
No matter what color or surface you’re painting, the process for doing so is likely the same. (This assumes you don’t need to prime the entire space beforehand.) Taping and cutting in will take the most time, so if you want to break up the painting into multiple sessions, a good place to stop is after cutting in. You can roll the paint on later to finish the job.
Step 1: Prepare the room
Get your room ready for painting. Move all the furniture to the middle of the room and cover it, or move it out of the space altogether. Then, using a screwdriver, remove the outlet covers and any other wall plates.
If you have any holes in the wall, seal them using spackle. Once everything is dry, sand and prime the areas you sealed and apply a spray texture. Finally, clean any dirty surfaces, on the wall.

Photo: Sara Barnes / My Modern Met
Step 2: Tape off the room
Grab your painter’s tape and tape off all the baseboards, around the outlet covers, the ceiling, and anything else you want to protect from paint. After taping, pour some of the paint into your tray.
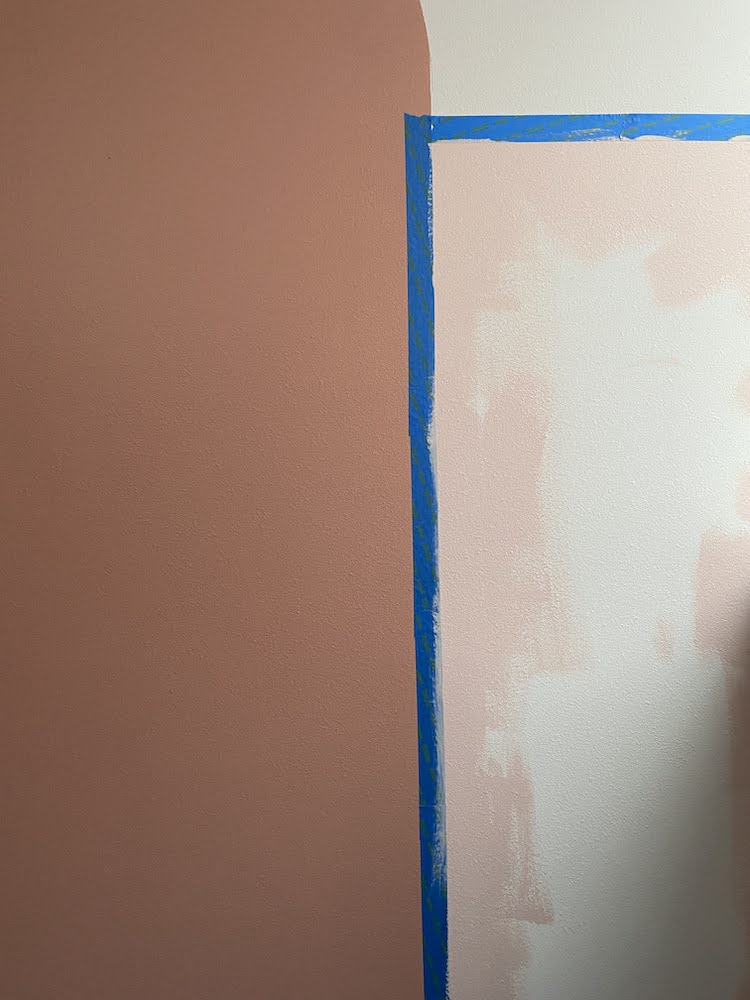
Photo: Sara Barnes / My Modern Met
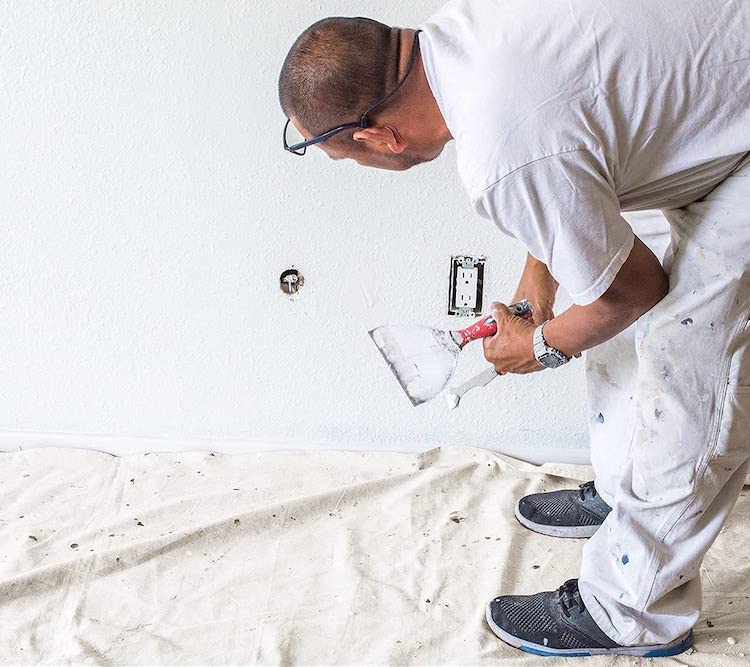
Step 3: Cut in using your brush
Cutting in refers to hand-painting areas that a roller brush can’t adequately reach. Opt for a brush-width-wide line around or above these areas.
You might be wondering: what’s the point? It all comes down to precision. Rolling above a baseboard, for instance, is really challenging and you won’t get the crisp edge that you will with a brush. The same goes for around the outlets. That’s why it’s best to hand paint areas like that—your overall paint job will look neater and there will be less you’ll have to touch up later.
This step is very time-consuming, especially compared to a roller brush. But it’s worth the time and effort at this stage. Make it more enjoyable by firing up a podcast.
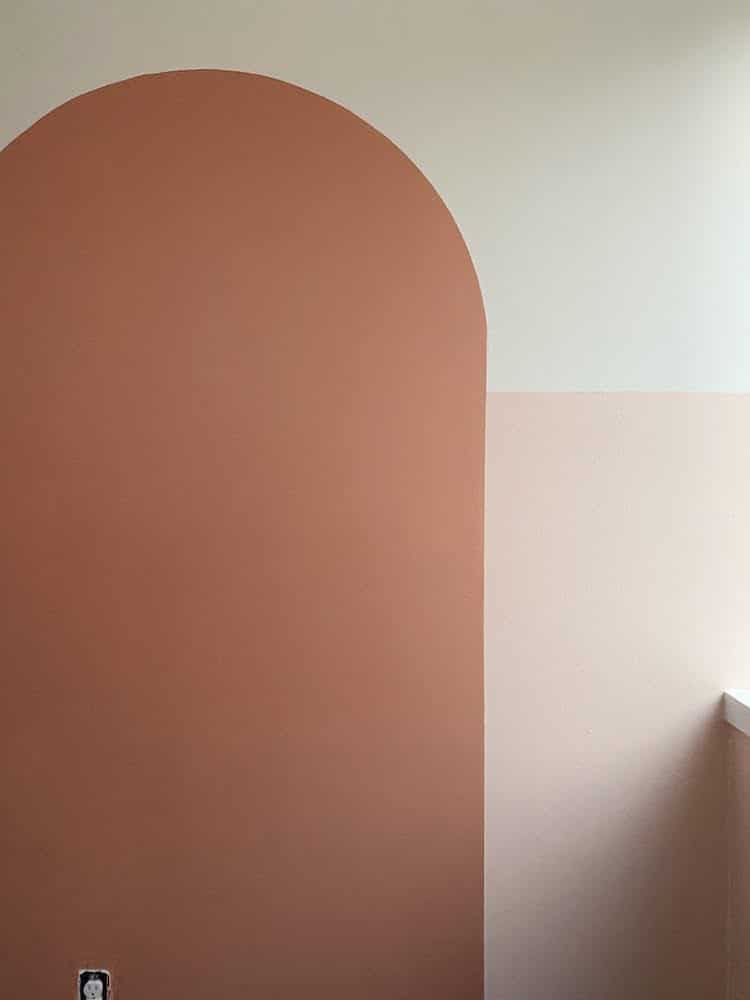
Photo: Sara Barnes / My Modern Met
Step 4: Roll within the cut areas
You’ve finished cutting in and now you’re ready to roll—literally. Slide the roller brush cover over the frame, attach it to the extension pole (if necessary), and roll the brush into the well of the paint tray. Move it back and forth over the grooves of the tray to ensure that the paint completely and evenly covers the roller. Once the roller appears well-saturated but not dripping with paint, roll it on the wall, starting from the top and working in straight lines down the wall. Go over the spot a couple of times—one to get the paint on the wall and then a second or third pass to make sure it is evenly spread.
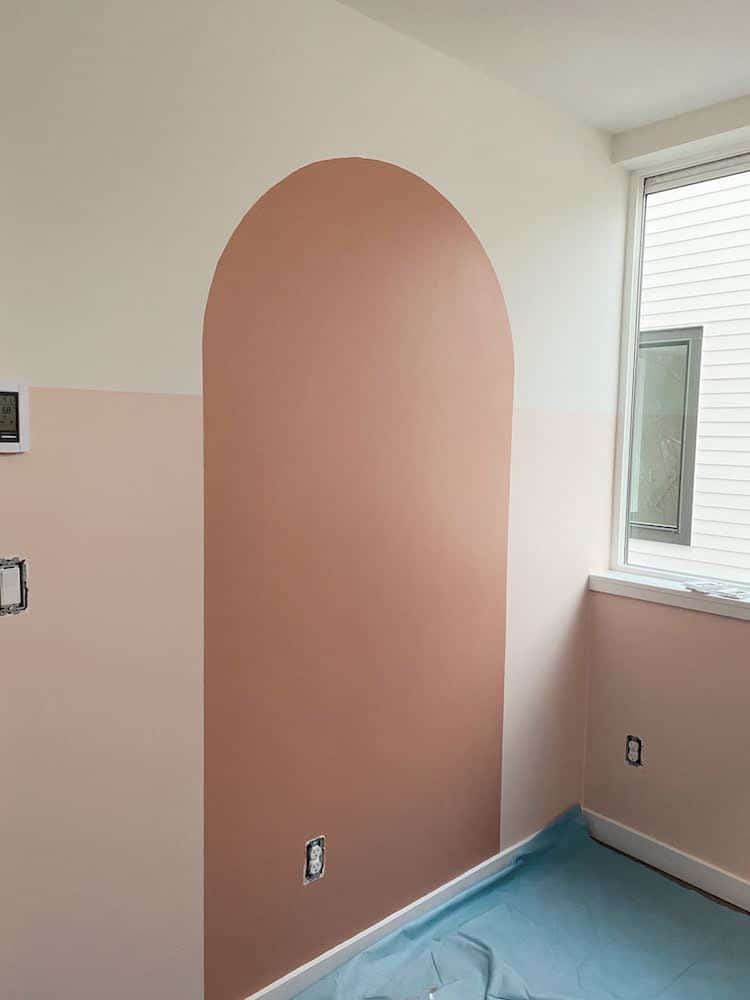
Photo: Sara Barnes / My Modern Met
Step 5: Apply a second coat and/or put the room back together
Depending on your paint, you might have to repeat the cutting and rolling process in order for the paint to completely cover your wall. Or, maybe you don’t. Either way, once everything dries, look for any areas to touch up—maybe you missed a spot. Using a hand brush, apply paint to those areas.
After you’re happy with the coverage, remove the tape and put the covers back on the outlets. Pick up the drop cloth and move the furniture back in the room. Enjoy your refresh!
Top Tips for Successfully Painting a Room
Buy the right type of paint for your walls
Paint will vary based on the room. Bathrooms, for instance, require a glossy coat while an office looks better in a matte finish. Door frames and window sills are often oil-based paint. Make sure you’re using the paint that will be suited to the surface you’re applying it to.
Invest in good quality paint
Like supplies, invest in good quality paint when you can. It won’t scuff as easily and will look better years down the road.
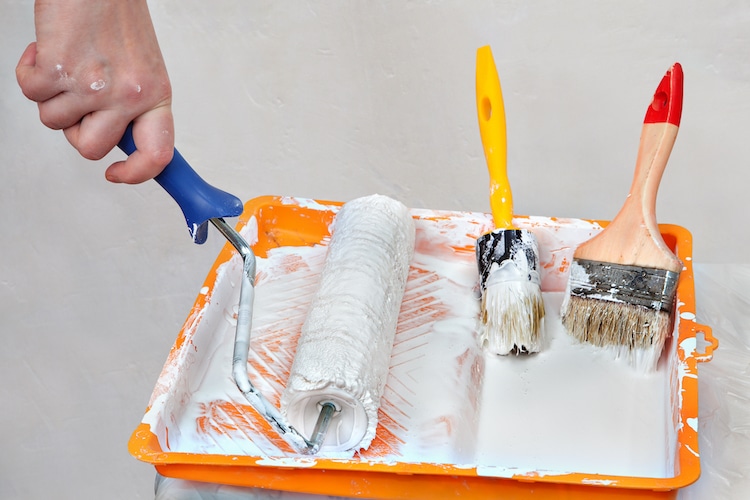
Photo: grigvovan/Depositphotos
Take care of your supplies and buy quality when you can
Unless you hire a professional, this probably won’t be the only room you paint. Spending a little more on supplies and cleaning them properly will make them last for years.
Painting a large space? Get a five-gallon bucket and put all the paint together.
If you’re painting a really large space that requires more than one gallon of paint, buy a five-gallon bucket. Pour all of the paint into that bucket and mix it together. This will help to get a consistent color, as the hues can vary gallon to gallon. You can always empty the bucket back into paint cans when you’re done.
Recruit a pal.
Painting is more fun—and goes faster—when you have a friend. Find a pal who can help you do things like tape or cut in. You’ll be amazed at how much quicker the whole thing goes.
Photo: Syda_Productions/Depositphotos
Related Articles:
15 Creative Terrazzo Products That Add Speckled Beauty To Your Home Decor
15 Peel and Stick Wallpapers That Will Instantly Transform Your Home
25 Stylish Pieces of Home Decor You Can Only Find at Target